Smart thermostats can cut energy costs by up to 20% annually, making them an attractive upgrade for older multifamily buildings. However, retrofitting these properties comes with challenges like outdated wiring, poor Wi-Fi coverage, and HVAC system compatibility. Here's what you should know:
- Savings Potential: Energy Star-rated smart thermostats can save between $4,800 and $12,000 annually for a 50-unit building with $60,000 in HVAC expenses.
- Installation Costs: Expect to pay $150–$500 per unit, depending on wiring and HVAC requirements.
- Tenant Appeal: 90% of renters value technology in their homes, and smart thermostats can increase lease renewals by 59%.
- Common Issues: Missing C-wires, aging electrical systems, and poor network infrastructure are common hurdles.
- Solutions: Use C-wire adapters, upgrade Wi-Fi with mesh systems, and segment IoT devices for better security.
Planning, addressing system compatibility, and educating tenants are key to a successful installation.
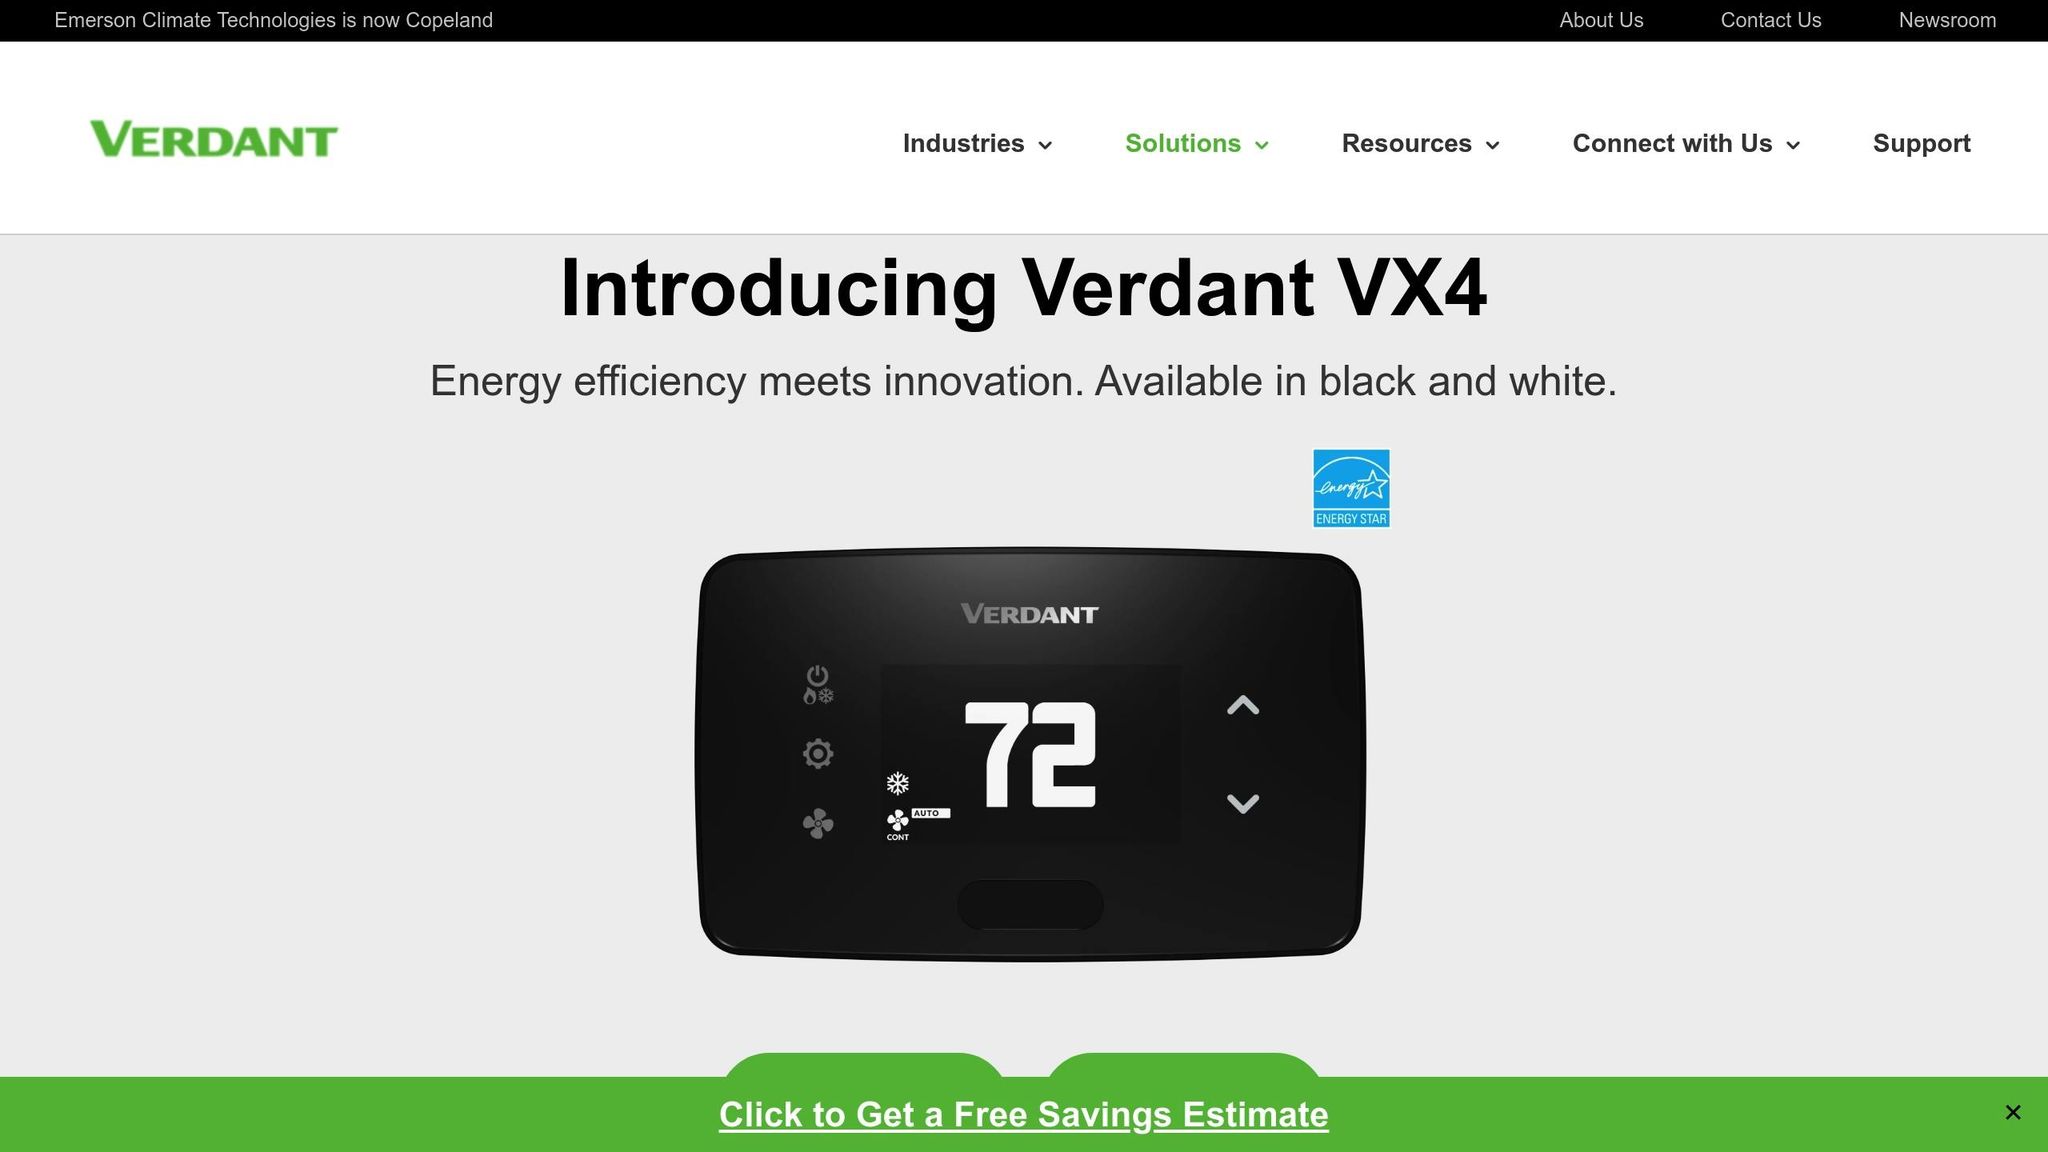
How to Install: Verdant VX4 Wireless Smart Thermostat
Checking Building Systems for Smart Thermostat Compatibility
Before diving into a smart thermostat upgrade, it’s crucial to assess your building’s existing systems. A thorough evaluation can help you avoid installation headaches and costly mistakes. Focus on three key areas: your HVAC system type, the electrical setup, and potential challenges unique to older buildings.
HVAC System Types and Compatibility
The first step is understanding your building’s HVAC system. Older multifamily properties often rely on forced air systems, PTAC (Packaged Terminal Air Conditioner) units, or heat pumps. Each of these systems has specific requirements for smart thermostat compatibility.
Most older buildings use single-stage conventional split heat pumps and air conditioners[5]. These systems tend to work with smart thermostats, but the configuration must be verified. Single-stage systems operate with basic on/off functionality, while multi-stage systems allow for more precise temperature adjustments.
Here’s a quick breakdown:
- Forced air systems: These distribute air through ductwork and are generally the easiest to pair with smart thermostats.
- Heat pump systems: Require thermostats capable of handling reversing valve operations, which switch between heating and cooling.
- PTAC units: These self-contained systems are common in older apartments and often need specific thermostats designed for their voltage and control needs.
To identify your system type, examine the labels on your furnace, air handler, or outdoor unit. Look for model numbers and specifications indicating whether it’s a single-stage, multi-stage, or heat pump system. Some manufacturers, like Ecobee, offer online tools to help you check compatibility[3].
Electrical Wiring and Power Requirements
Next, evaluate your building’s electrical wiring. Smart thermostats require a stable power source, which is often where older buildings encounter problems. The common wire (C-wire) is essential for providing continuous 24-volt power, ensuring the thermostat operates reliably.
Approximately 90% of homes use low-voltage systems (24V), where the C-wire plays a critical role[6]. However, many older buildings lack this wire, leading to power issues that cause thermostats to malfunction or go offline.
"I can't tell you how many frustrated homeowners call us because their new $250 smart thermostat keeps going offline. Nine times out of ten, it's a missing C wire issue."
– Lead Technician [6]
To check your wiring, shut off the HVAC power at the circuit breaker and remove the thermostat faceplate. Look for these standard wiring terminals:
| Terminal | Wire Color | Function |
|---|---|---|
| R (or Rh/Rc) | Red | 24V power supply from transformer |
| C | Blue or Black | Common (completes 24V circuit) |
| W (or W1) | White | Heat |
| Y (or Y1) | Yellow | Cooling/compressor |
| G | Green | Fan |
| O/B | Orange or Dark Blue | Reversing valve for heat pumps |
Check for any unused wires bundled behind the thermostat, as these can often be repurposed as a C-wire. Use a multimeter to test for 24-28V AC between the R and C terminals. This ensures your electrical system can support the smart thermostat[6].
Common Problems in Older Buildings
Older buildings often come with unique challenges, especially regarding wiring and power supply. Here are the most common issues:
- Missing or inadequate wiring: Many buildings from before the 1990s only have 2-wire systems (red and white), while modern smart thermostats typically need 5-wire systems[3].
- Non-standard wiring: Some older installations use unconventional wire colors or routing, making it tricky to identify proper connections[7].
- Insufficient power supply: Transformers in older buildings may not provide enough power for smart thermostats, especially when multiple units share one transformer. This can lead to intermittent operation or complete failure.
If you encounter these problems, there are several solutions:
- C-wire adapter kits: These can creatively use existing wiring to supply the necessary power.
- Professional installation: Costs vary depending on the complexity:
- Transformer upgrades: May be needed if the current transformer can’t handle the power demands.
"The most common mistake we see is people forgetting to turn off power before starting. Even though thermostat wiring is low-voltage, the control board and transformer are connected to high-voltage lines that can be dangerous."
– Safety Director [6]
If you’re unsure about compatibility or wiring, consult an HVAC professional[3][4]. They can evaluate your system and recommend the best approach, saving you from potential headaches and expensive fixes later.
Once HVAC and wiring issues are addressed, the next step is ensuring your building has reliable Wi-Fi and network support for the installation.
Improving Wi‑Fi and Network Setup
Once you've confirmed HVAC and wiring compatibility, it's time to tackle your network setup - an essential step when retrofitting older buildings with smart thermostats. These devices depend on reliable Wi‑Fi, which can often be a challenge in older multifamily properties. In fact, 82% of multifamily buildings that are over a decade old and offer Wi‑Fi report issues with maintaining network connections, compared to just 13% of newer properties[9].
The success of a smart thermostat rollout hinges on having a strong network infrastructure. Jennifer Kent, VP of Research at Parks Associates, highlights this challenge:
"A lack of suitable pre‑existing networking infrastructure is a top barrier holding MDUs back from widely deploying IoT."[9]
Fixing Wi‑Fi Coverage Problems
Older buildings often come with physical barriers - like thick walls or concrete floors - that weaken wireless signals and create dead zones. These dead zones can disrupt smart thermostat connectivity, making it crucial to address these issues upfront[8].
Start by assessing your building's Wi‑Fi coverage. Walk through each unit with a smartphone or tablet, checking signal strength in areas where thermostats will be installed. Pay close attention to units on upper floors, in corners, or far from your router or access points.
To improve coverage, consider these solutions:
- Mesh network systems: These systems create a network of interconnected access points, ensuring consistent coverage across multiple floors.
- Signal boosters and range extenders: These devices can help fill in coverage gaps but may reduce overall network speed. Place them strategically between the main router and problem areas.
- Wired connections: For persistent connectivity issues, running Ethernet cables to install dedicated access points provides the most reliable fix.
- Channel optimization: Modern access points can automatically select the best channels to reduce interference, but manual adjustments might be necessary in crowded areas[10].
Cloud-based management tools can further enhance your setup by allowing real-time monitoring of network performance. These tools can help you identify and fix connectivity issues quickly while using interference-reduction techniques to maintain a stable Wi‑Fi signal[8].
Once your Wi‑Fi coverage is solid, the next step is ensuring your network is secure.
Network Security for IoT Devices
Adding smart thermostats to your building's network introduces new security risks. Older buildings, in particular, may lack the safeguards needed to protect these devices, making network security a critical focus. Every IoT device added to the network increases the potential for vulnerabilities[13].
Start by segmenting your network. Use Virtual Local Area Networks (VLANs) to create separate segments for IoT devices, isolating them from tenant devices and critical building systems. This is vital, as more than 70% of breaches stem from insufficient network segmentation[11]. Combine VLANs with firewalls to further separate tenant access, building systems, and IoT devices[12].
Here are additional steps to secure your network:
- Change default credentials: Replace default usernames and passwords with unique, complex ones. Enable multi-factor authentication to block 99.9% of account compromises[11].
- Monitor connected devices: Keep an up-to-date inventory of all IoT devices and actively track network traffic in the IoT segment[12][13].
- Regular firmware updates: Work with thermostat vendors to ensure devices receive the latest security patches, as unpatched vulnerabilities cause 80% of breaches[11].
- Restrict network access: Set firewall rules to allow only necessary traffic and disable unused ports to minimize exposure[13].
Real-time monitoring tools can also help detect security issues early. Organizations using these tools are able to identify breaches 65% faster than those without them[11]. Establish baseline traffic patterns for normal device behavior and monitor for anomalies[12][13].
For added protection, consider partnering with Managed Security Service Providers (MSSPs) that specialize in IoT security. These providers offer 24/7 oversight and can respond quickly to potential threats[13]. Conducting regular security audits and penetration tests can further strengthen your defenses, reducing the likelihood of major incidents by up to 50%[11].
sbb-itb-58157f8
How to Install Smart Thermostats Step by Step
With your network set up and ready to go, it’s time to tackle the actual installation process. Installing smart thermostats in older multifamily buildings requires precision and adherence to safety protocols. John Galeotafiore, who oversees thermostat testing for Consumer Reports, highlights the importance of timing:
"It's best not to try to replace your thermostat during a time when a functioning HVAC system is important, such as during a particularly cold day or shortly before guests will be staying with you for a holiday."[14]
Keep your old thermostat handy as a backup, just in case.
Getting Ready for Installation
Safety comes first when working with older electrical systems. Always turn off the power to your HVAC system at the circuit breaker, and double-check with a non-contact circuit tester to ensure no current is running before handling any wires.
Once the power is off, gather your tools and materials. You’ll need a mix of essentials, including:
- Phillips and flat-head screwdrivers
- Wire labels or masking tape for marking wires
- A drill (with bits for new mounting holes)
- A pencil for marking positions
- A level for alignment
- Wire strippers for cleaning wire ends
- Electrical tape
- Your smartphone with the thermostat manufacturer’s app pre-downloaded
Check that your thermostat package includes everything you need: the base plate, mounting screws, wall anchors, and wire labels. Some models may also include a power adapter for systems without a C-wire and a trim kit to cover old mounting holes. Read the installation manual thoroughly, paying close attention to any warnings or specific instructions.
Before you begin disconnecting wires, remove the faceplate from your old thermostat and take a clear photo of the wiring setup. This snapshot will act as your reference if the wire labels become unclear. Identify and label each wire according to its terminal letter - R for power, G for fan, Y for cooling, W for heating, and C for common. Use the terminal labels on the old thermostat as your guide instead of relying entirely on wire colors, which can vary in older buildings.
Carefully disconnect each wire, keeping them separate from the opening. Tape the wires to the wall or bend them outward with needle-nose pliers. Remove the old mounting plate and clean the wall surface if needed.
Once everything is prepped and organized, you’re ready to mount and wire your new thermostat.
Installing and Setting Up the Thermostat
Start by positioning the new thermostat’s base plate on the wall. Use a level to ensure it’s straight, then mark the screw hole locations with a pencil. If you’re working with plaster walls, use appropriate anchors for a secure installation. Drill pilot holes if necessary.
Next, connect the wires based on your labels and the new thermostat’s terminal markings. Most smart thermostats require a C-wire for continuous power. According to Galeotafiore:
"We recommend using a C-wire to provide power to your smart thermostat, since that is the most straightforward way."[14]
If your system doesn’t have a C-wire, you have a few alternatives. Many smart thermostats include a power adapter, or you can install a C-wire adapter kit at your HVAC unit. For a more permanent solution, consider hiring a professional to run a new C-wire. Always make sure you’re staying within the voltage limits specified by the thermostat manufacturer.
For non-standard wires, follow these guidelines:
| Non-Standard Wire | What to Do |
|---|---|
| L (Outdoor Reset or Service Indicator) | Tape off |
| S1/S2 (Outdoor or Other Sensor) | Tape off |
| T (Outdoor Reset or Thermistor Sensor) | Tape off |
| E (Emergency Heat) | Tape off unless it’s the only W wire |
| W/E (1st stage heat or AUX) | Connect to W |
| Data/Lettered/Numbered | Not compatible, consult an HVAC professional |
Once the wiring is complete, attach the thermostat to the base plate and restore power at the circuit breaker. Your thermostat should power on and guide you through the initial setup process. Follow the on-screen instructions to connect it to your Wi-Fi network using the login details you prepared earlier.
With the installation done, it’s time to test and fine-tune the system.
Testing and Fixing Problems
Before wrapping up, test the thermostat’s basic functions. Switch to heating mode and set the temperature higher than the current room temperature. You should hear the system activate within a few minutes. Then, switch to cooling mode and lower the temperature to test the air conditioning.
Check the thermostat’s temperature readings by comparing them to a separate thermometer placed nearby. If there’s a noticeable discrepancy, most smart thermostats allow you to adjust the calibration through their settings menu.
Verify the Wi-Fi connection and test remote features using the thermostat’s mobile app. Try adjusting the temperature remotely and setting up schedules to ensure everything works smoothly. If you encounter connectivity issues, check the Wi-Fi signal strength at the thermostat’s location and restart both the thermostat and your router if needed.
Some common installation issues are easy to resolve. If the thermostat display remains blank, double-check your wiring and confirm the circuit breaker is on. For models with battery backups, make sure the batteries are installed correctly. Dust and debris can affect sensors in older buildings, so clean the thermostat’s sensors with a soft brush if temperature readings seem off.
If you see error codes, consult the manufacturer’s troubleshooting guide for help. Tyler Lacoma from CNET offers this advice for persistent problems:
"If you can't figure out what's going on or don't have a lot of experience with wiring, you can also contact customer support for your thermostat brand online, or call a heating/cooling service in your area to get some help."[15]
Monitor the system during both heating and cooling seasons if possible, and keep an eye on its performance over the first few days. This will help you identify any lingering issues or compatibility concerns early on. Document any adjustments you make during testing, as these notes can be incredibly helpful for future installations in similar units.
Training Tenants and Maintaining Long-Term Success
Installing smart thermostats is just the beginning; helping tenants understand how to use them effectively is key to achieving real energy savings. Cass McFadden, Vice President and Global Head of Sustainability at Cortland, highlights this point:
"You can't rely on green leases and education alone... You have to invest in things like community solar and technology that will help the residents effectively save energy." [16]
Empowering tenants with the knowledge and tools to integrate these technologies, especially in older buildings, is essential for long-term energy efficiency.
How to Teach Tenants Smart Thermostat Use
In older multifamily buildings, clear instructions can bridge the gap between advanced technology and everyday use. Start with a simple one-page guide that includes step-by-step instructions, screenshots, and sample schedules. Adding thermostat interface visuals can make the guide even easier to follow. Highlight the importance of scheduling by showing how to set different temperatures for times when tenants are home, away, or sleeping. Encourage tenants to experiment with the settings during the first couple of weeks so the thermostat can learn their habits.
Hosting hands-on workshops in a shared space is another effective way to engage tenants. These sessions can cover features like eco mode, away settings, and how the Auto-Away function works. Explain how Auto-Away uses geofencing to adjust temperatures automatically, making energy savings effortless. Additionally, point out efficiency icons on the thermostat display to help tenants recognize energy-saving modes at a glance.
Showing Energy and Cost Savings
Focusing on financial benefits can motivate tenants to embrace smart thermostats. These devices can cut energy costs by up to 20% annually [2]. For example, if a tenant's energy bill is $100, they could save $20 each month. Mark Otersen, Duke Energy's Online Savings Store product manager, explains:
"It can learn your schedule, so it will automatically adjust up or down based on your schedule when you are leaving the home." [2]
This learning feature allows the thermostat to become more efficient over time, requiring less manual input from tenants.
Encourage tenants to use the energy reports available through the thermostat's app. These real-time insights make savings more tangible. Additionally, offering rent discounts or rebates for significant energy reductions could further incentivize engagement [16].
Offering Ongoing Help and Support
Even after tenants understand the basics and start saving, providing ongoing support ensures they continue to benefit from their smart thermostats. Set up a dedicated email or phone line for assistance, and create an easy-to-follow troubleshooting guide for common issues like Wi-Fi connectivity, temperature calibration, or app access. Regular check-ins during the first few months can address any concerns early and reinforce good usage habits.
Keep the thermostats running efficiently with regular firmware updates and seasonal reminders. Occasionally, compare the thermostat's readings with the actual room temperature and recalibrate if needed.
Key Points for Smart Thermostat Installation Success
Achieving success with smart thermostat installations revolves around three main factors: preparing the infrastructure, setting a realistic budget, and committing to ongoing maintenance. These steps ensure a smooth integration with your building's systems while delivering long-term energy savings and improved tenant comfort.
Start by addressing your building's infrastructure. Conduct a thorough audit to pinpoint areas with high energy consumption and assess the condition of the electrical wiring and Wi-Fi connectivity [1]. Outdated wiring may not support modern smart devices, and a reliable internet connection is essential for these systems to function properly. Upgrading HVAC systems can also amplify energy efficiency and enhance overall comfort for tenants.
Next, establish a practical budget. Retrofitting smart systems typically costs between $750 and $1,500 per unit, with energy savings ranging from 10–15% for thermostats and up to 50% when paired with high-efficiency heat pumps [17][18]. This combination not only improves energy performance but also provides a compelling return on investment for property managers. With your budget in place, the focus should shift to creating a solid maintenance plan.
Once the infrastructure is updated and the budget is set, proactive maintenance becomes the cornerstone of keeping your system efficient over time. Regular updates to both hardware and software, performed by trained professionals, ensure your system stays aligned with advancing technology. As Brian Meyers, Trane System Controls Portfolio Leader, explains:
"System maintenance is the last piece to the puzzle for maintaining a continuously evolving smart building." [19]
Incorporating predictive maintenance through IoT sensors can take your maintenance strategy to the next level. This approach can reduce maintenance costs by up to 40% and cut equipment downtime by 50% [21]. Training your staff to effectively use IoT software, analyze data, and respond promptly to alerts is equally important [20].
Treat smart thermostat installation as part of a broader modernization effort. By upgrading infrastructure, planning budgets carefully, and prioritizing maintenance, even older multifamily buildings can achieve energy efficiencies and tenant satisfaction on par with newer developments.
FAQs
How do I know if my older multifamily building's HVAC system works with smart thermostats?
To determine if the HVAC system in your older multifamily building can work with smart thermostats, the first step is to consult with a qualified HVAC technician. They’ll assess your system’s wiring, voltage, and overall setup to provide a clear answer. Many systems - especially 24-volt systems - are often compatible with smart thermostats. However, older high-voltage systems might need upgrades or specific thermostat models to work properly.
It’s also a good idea to check the thermostat manufacturer’s compatibility guidelines. These will help confirm whether the device will integrate with your existing HVAC system. If updates are necessary, your technician can suggest the best options to ensure everything runs smoothly. By taking these steps, you can avoid potential issues and fully enjoy the perks that smart thermostats offer.
How can I address Wi-Fi connectivity challenges when installing smart thermostats in older multifamily buildings?
Improving Wi-Fi connectivity in older multifamily buildings is key to successfully installing smart thermostats. Begin by boosting Wi-Fi coverage using tools like Wi-Fi extenders or mesh network systems to address dead zones. These solutions can help ensure a more reliable connection throughout the building.
For areas where wireless signals remain unstable, Ethernet adapters can provide a dependable wired alternative. This setup is particularly useful in spaces where consistent connectivity is critical.
It's also important to upgrade the building's Wi-Fi infrastructure to support multiple devices while delivering strong and steady signals. When selecting smart thermostats, look for models that offer offline functionality or local control options, so they can continue working even if the internet goes down.
How can property managers help tenants use smart thermostats to save energy effectively?
Property managers can play a key role in helping tenants save on energy costs by offering practical guidance on using smart thermostats. Hosting brief workshops or meetings is a great way to demonstrate features like temperature scheduling and remote control through smartphone apps. To reinforce these tips, managers can provide simple, easy-to-read materials, such as flyers or emails.
Digital tools like videos or step-by-step guides are another effective way to educate tenants. These can show how to adjust thermostat settings for seasonal changes or personal comfort. Emphasizing the potential for lower energy bills and the convenience of smart thermostats can encourage tenants to take full advantage of these devices.